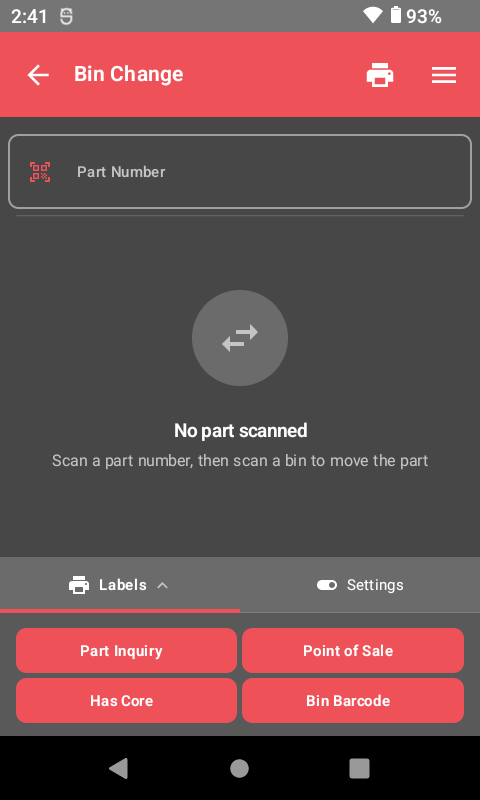
Changing Bin Locations
Why Bin Changes Matter
Every part in your warehouse has a bin location stored in the DMS. When someone searches for a part, they look at the bin location to find it on the shelf. If a part gets moved to a different bin but the DMS is not updated, people waste time looking in the wrong place — or worse, they assume the part is out of stock when it is actually sitting in a different bin.
With ScanIt Parts, bin changes happen in real time. You scan the part, enter the new bin location, and the DMS is updated instantly. No handwriting on notepads, no walking back to the computer, no data entry backlog at the end of the day.
The Three-Step Process
Step 1: Select Bin Changes
From the main menu on your scanner, tap Bin Changes to enter bin change mode.
Step 2: Scan or Enter the Part
Scan the barcode on the part you want to move, or type the part number manually. The scanner will display the current part information including the existing bin location.
Step 3: Enter the New Bin Location
Type the new bin location where the part is being moved, or scan the bin barcode label on the new shelf location. The system will update the DMS immediately with the new bin.
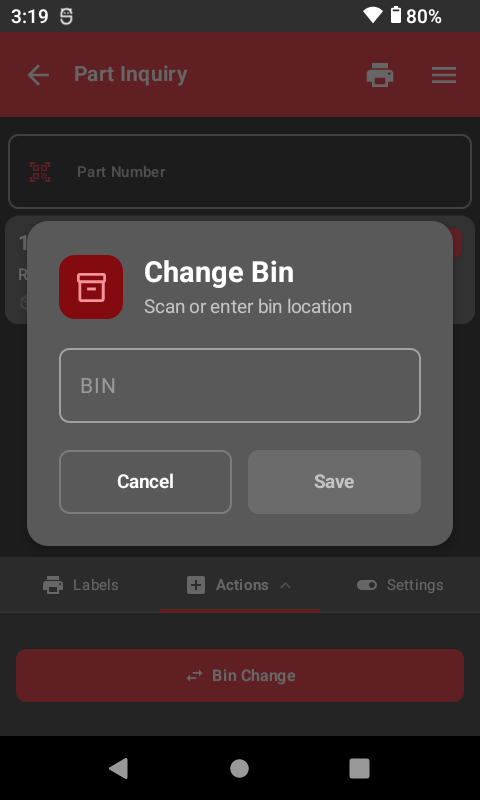
Scan the bin barcode. If your shelves have bin barcode labels, scanning them is faster and more accurate than typing the bin number. It eliminates typos and ensures the bin location matches exactly what is on the shelf.
Label Printing Options
After completing a bin change, you can print labels. There are two settings:
Print Mode
- Toggle left (off): You will need to manually select and print a label after each bin change.
- Toggle right (on): The scanner will automatically print a label after every bin change. This is the recommended setting if you are relocating many parts at once.
Available Label Types
- Bin Change Label — A standard label showing the part number barcode, the new bin location, PNC, group, and description. Apply this to the part or the shelf.
- Bin Barcode — A simple label showing just the bin location with a barcode. Use this to label the shelf itself so future bin changes can be done by scanning the shelf.
DMS Synchronization
Every bin change you make on the scanner is sent to your DMS in real time over WiFi. There is no batch process or end-of-day sync — the change is live as soon as you confirm it. This means anyone looking up the part in the DMS, on the web dashboard, or on another scanner will immediately see the updated bin location.
Make sure you physically move the part. The scanner updates the DMS record, but it does not move the physical part. If you change the bin in the system but forget to move the part, the DMS will point to the wrong location.
New Feature -- Print History: Tap the clock icon in the top bar to see labels you have printed during bin changes. It shows part number, label type, time, and quantity -- useful when relabeling multiple bins in a session.
When to Use Bin Changes
Common situations where you will use the Bin Changes function:
- Reorganizing shelves — Moving slow-moving parts to back shelves and fast movers to more accessible locations.
- Expanding into new bins — When you add new shelving and need to redistribute inventory.
- Correcting mistakes — A part was put in the wrong bin and needs to be moved to the correct one.
- Consolidating — Combining two partially-filled bins of the same part into one location.
- During cycle counting — If you find a part in the wrong bin during a count, use Bin Changes to correct the location.
Related Resources
Ready to See ScanIt Parts in Action?
Schedule a personalized demo and see how ScanIt Parts can transform your parts department.
Request a Demo